Tag Archives: CW

The Future of Amateur Radio

children are the futureGoing through Yahoo group posts this morning I came across something on the Ham Instructors group that caught my attention, a discussion on the demographics of new hams and whether or not the focus for recruiting should continue to be centered on the idea that children are the future of ham radio.

Many hams, maybe even most hams, share a basic story line. They got interested in radio as a pre-teen or teen, usually exposed to radio by family, friends, or social event. Most drift away from radio as they go through various stages of life when they are swamped with the normal stuff life tends to throw at us all, school, marriage, having kids, career, the usual. Later on as things settle down radio creeps back into their life. Some manage to get licensed during that early exposure, some end up waiting several decades before getting a ticket.

In my opinion, providing the young an opportunity to catch the radio bug is the best bet. They may never actually get an amateur radio license and their attention may turn down many different paths. But the likelyhood of that exposure being beneficial to the amateur radio community down the road in some other form is immense. They would at least have some understanding and appreciation for amateur radio and its benefits to the community at large.

While I think the positions presented in the Yahoo group and associated blog posts K0NR and KB6NU are certainly worth looking into in greater depth, I think there is a more pressing matter that may affect the future of amateur radio.

Why is amateur radio experiencing a huge upswing? Basic statistics show the upswing began in 2008 shortly after the FCC dropped the code requirement for all amateur licenses. Wheather or not that decision was good for the service I will leave alone for now.

My ham path followed a derivation the one I described above. I got interested in radio as a teen back in the 80s but didn’t get my license until I was 46, only in part because of the code requirement. My reasons for finally getting my license were centered on personal emergency preparedness, serving the community, and to have fun experimenting and building RF electronics.

As a Volunteer Examiner I participate in license exam sessions and it seems that the predominant reasons for taking the license exams generally follow along with the age ranges:

Retirees & Pre-retirees are either upgrading an existing  license, had a licence but it expired and are getting back into the hobby, or always wanted to but hadn’t gotten around to it till now. Or you could say, the story we are so familiar with.

20s & 30s seem to be engineering students or engineers, Makers who have projects that require a license, or preppers.

Teens and under seem to either be in a social program like a school club or scouting. A few come from dedicated ham families.

Pretty much what you might expect, but there are a couple that might have an effect on the ham future landscape. Two categories that could pose concern.

I’ll start with Makers. By in large these are folks who embody the early spirit of amateur radio, they like to build stuff. While they bring to the table that early spirit of radio, how many of them participate in the radio community? Are they here because of one project they might need to be licensed for, or are they going to keep renewing their license and play radio alongside other Maker pursuits? Either way, I am glad they are here now. They do indeed advance the science and art of radio. Down the road however the passing interest MakerHam may drop the Ham part altogether.

The other group is of particular interest, preppers. My hats off to them if they actually get licensed, many more don’t. It is common practice for prepper groups to buy cheap Chinese ham-band radios and use them regularly on FRS/GMRS radio frequencies which is illegal, at least when it is not an emergency, but they are much less likely to get busted for that than using amateur frequencies without a callsign.

One thing to consider is the term prepper. There is a massive range of people who consider themselves preppers that covers the entire spectrum from keeping some extra food and water along with a flashlight, first aid kit, and blanket, something we all should have at a minimum by the way, to the massive underground hords and compounds guarded by paramilitary groups.

Another consideration is, do they further the science and art? Do they participate? If so, welcome aboard.

I mention these two groups of people not to place judgement, but rather to ask if they are a part of the ham community. The reason for asking is, what happens if they don’t renew their licenses? There was concern that the ham community was dwindling away, leading to a loss of tribal knowledge. What happens when non-invested license holders don’t see the benefit of keeping an unused license? Or just forget about it?

Amateure radio has been experiencing an unprecidented growth spurt over the last 8 years. We still have two years to go before the early no-code era hams begin to cycle for renewal. I would imagine the first few years after the start of the second ten-year cycle won’t see much of an effect either way, but what happens in 2020? Will we start to see a roll-off?

In general, we seem to be more focused on recruiting rather than retention. Back in the day, the code requirement acted as a filter. People with only a casual interest in amateur radio were less likely to pursue it. While it worked fairly well as such, it also filtered out people interested in radio, just not cw. Now we have no filter at all. The only impediment to getting licensed is $15 and some time studying the relatively small question pool. You can be a Technician class licensee in short order.

In life, most things are more valuable when you have to pay for them, monetarily or by blood, sweat, and tears. Personal commitment to seeing it through establishes the value. This basic principle would indicate that removal of the code requirement and as some would say, lowering the bar on the knowledge test, the sweat equity has been removed or at least lessened thereby the value, at least the perceived value for the licensee.

So now we have several issues to contend with; keeping the number of licensees up, ensuring that they keep their licenses renewed, and keeping some level of commitment to the hobby and community at large.

Frankly, I have no idea how to accomplish any of these. I don’t think we have enough data. Too many things have changed in the hobby in the last decade and we still don’t have any results from what I think may be the most impacting factor, the dropping of the code requirement. In all honesty, I doubt if we can even begin to answer these questions until 2020 and the effects can be quantified.

In the meantime, we should continue to do as we have always done, inspire and encourage the youth, at any age. Encourage fellowship among the community, Elmer whenever possible, maintain the highest personal standards, and reach out and engage the radio community and the general community at large.

The Amateur Radio preservation mantra,
“Engage, Inspire, Encourage, Educate, Participate”

~Jon KK6GXG

Commercial Radio Exams

fcc-seal_rgb_emboss-large
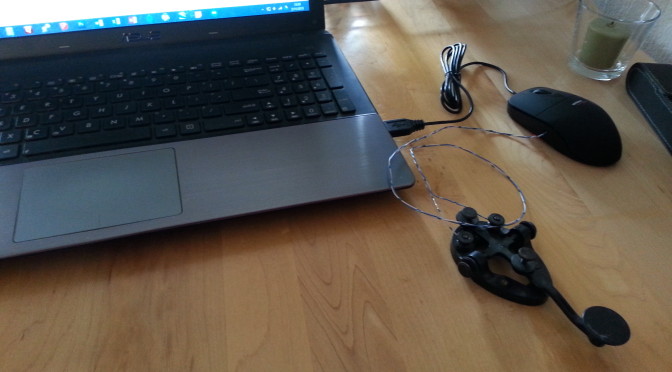
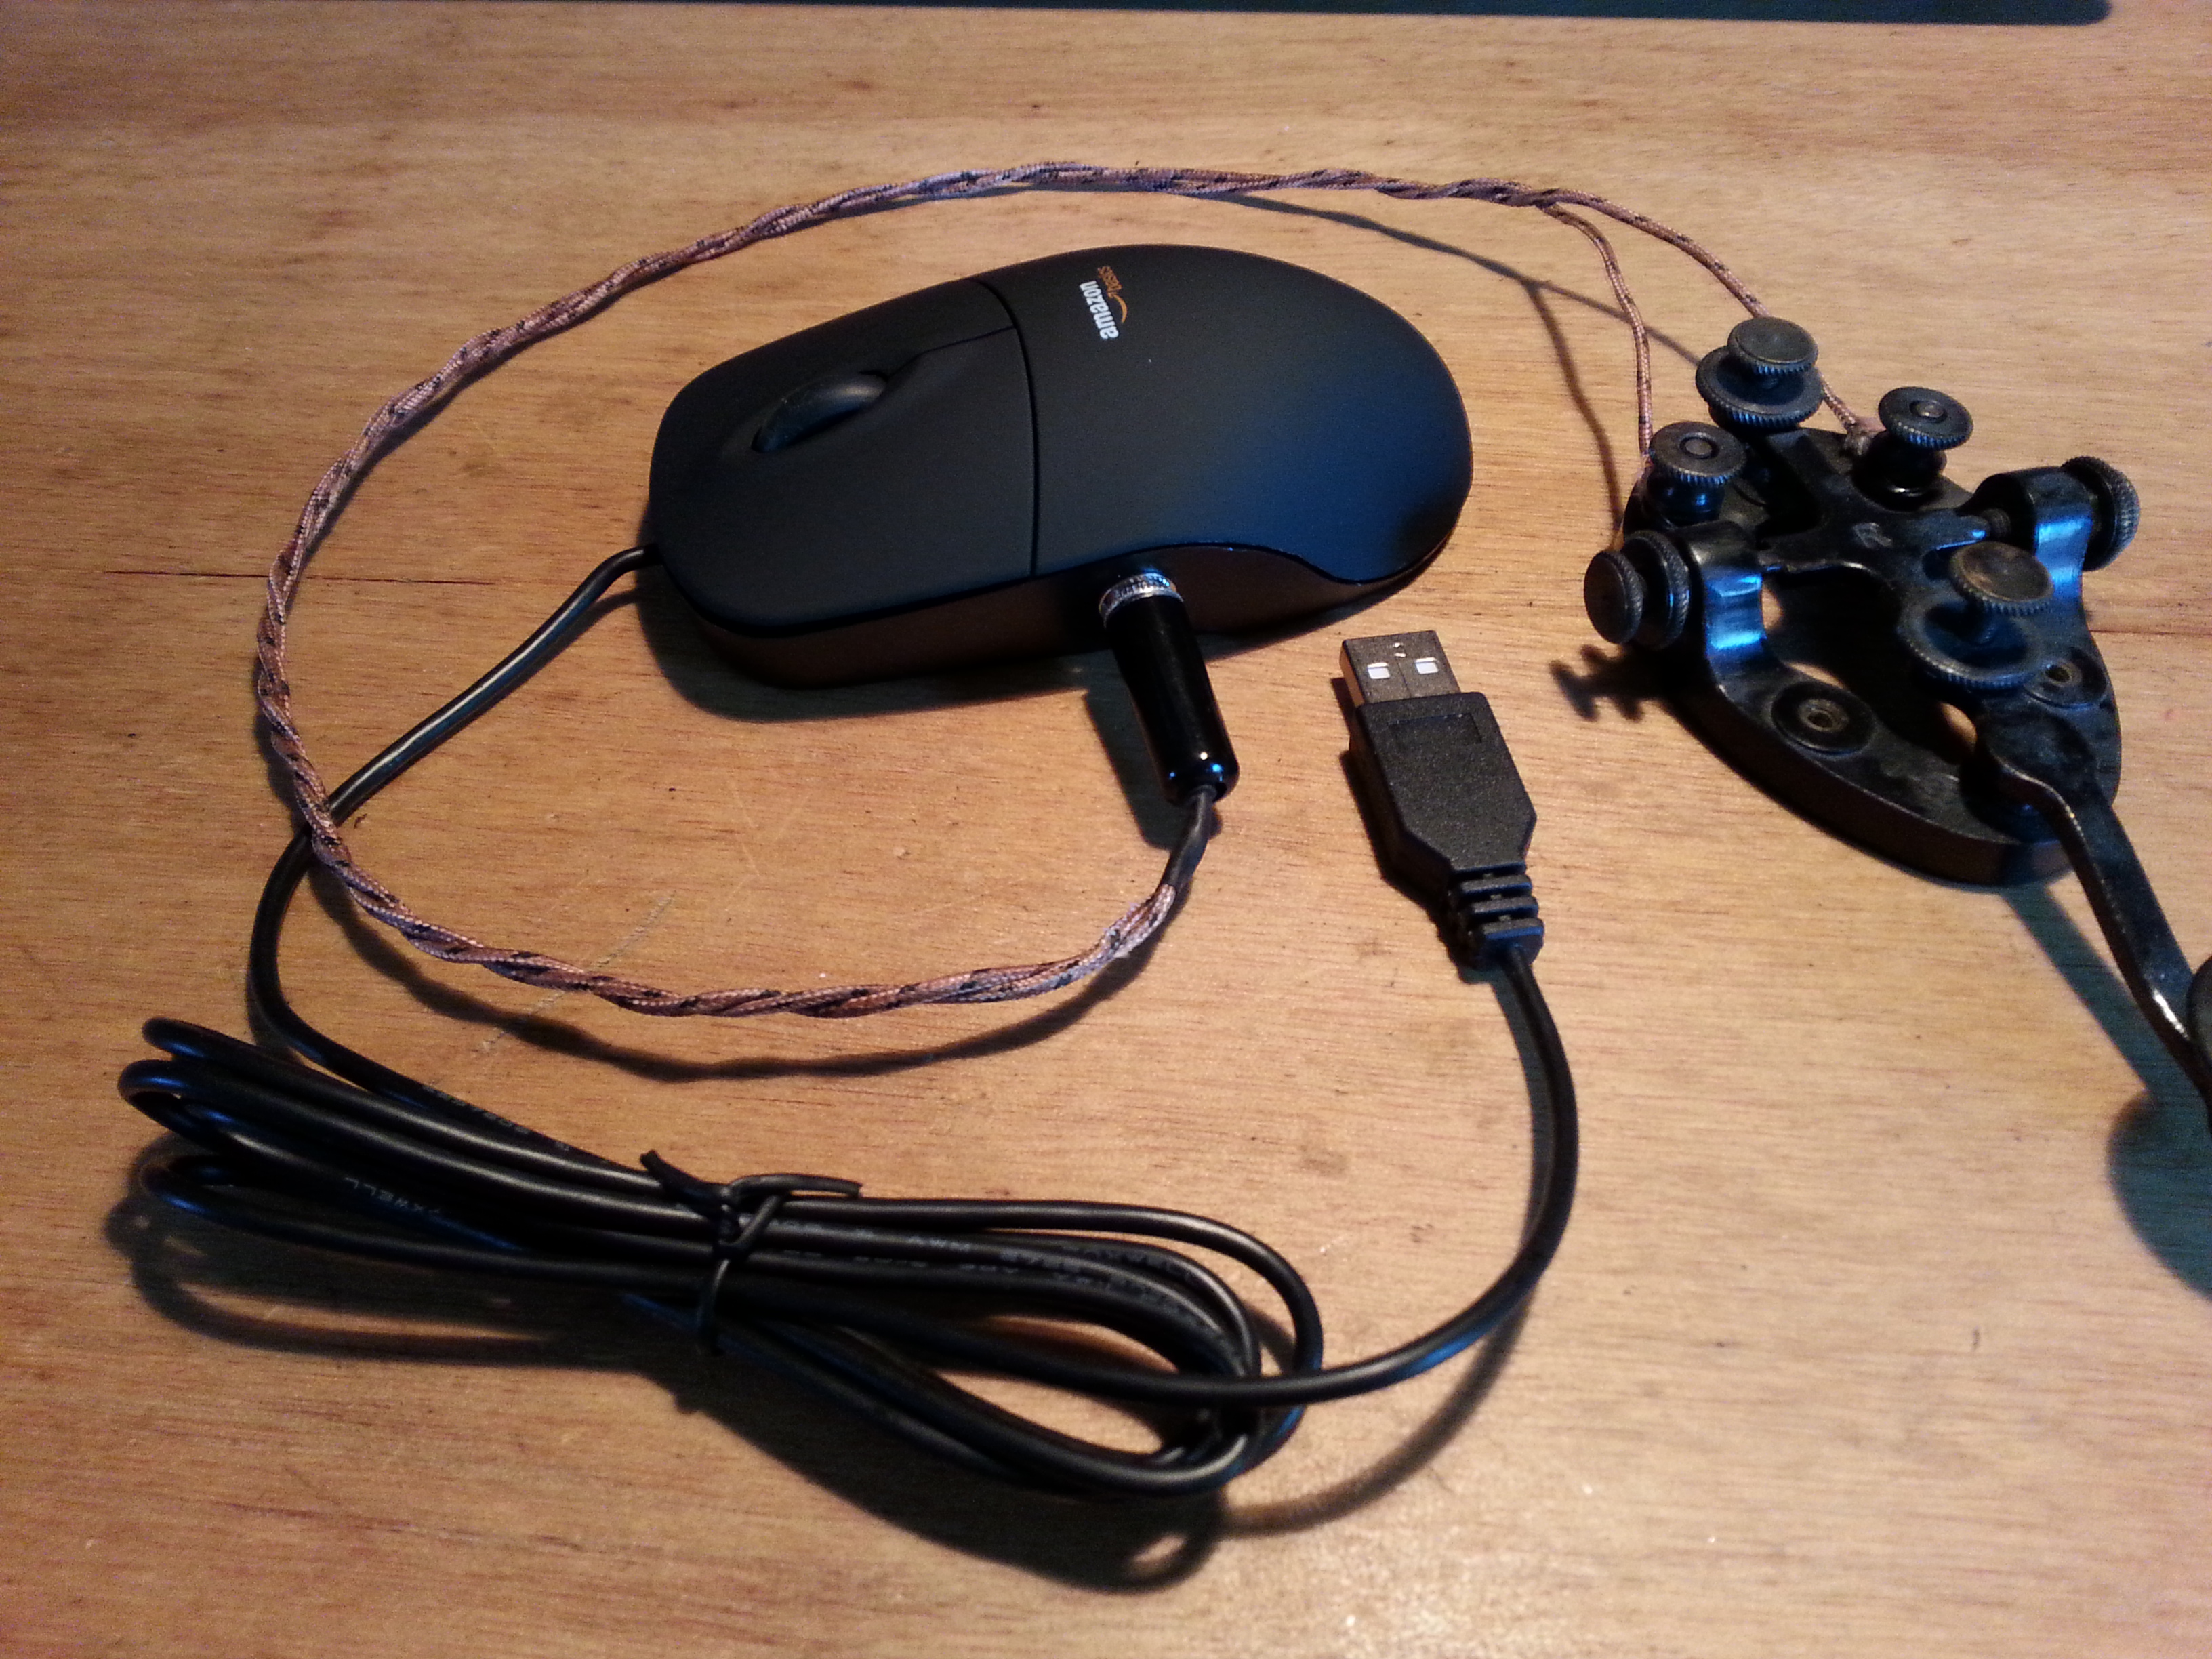
In the continuing saga of studying for my commercial radio license exams I spent much of the long weekend reviewing, quizzing, and taking practice tests.

I am quite confident that I can take the Element 1 (E1) exam at any time. Passing the E1 exam by itself qualifies you for the MROP or Marine Radio Operator Permit (MP).

With all of the practice tests I am averaging in the high 90s for at least the last 10 consecutive tests. E1 is a short test of only 24 questions from a pool of 144 covering rules and regulations, communications procedures, equipment operations, and marine radio frequencies.

While the name of the license and topics favor maritime activities it is also an aviation radio license. For pilots who regularly fly oceanic routs, or off shore and coastal operations, knowing marine communications and being licensed to operate on those frequencies is important.

Along with E1, E3 is also required for the GROL or General Radiotelephone Operators License (PG). I am studying E3 now, 100 questions from a pool of 600. This is the license the FCC requires for anyone working on marine or aviation radios. The FAA and Coast Guard have additional requirements for their respective services, but this is the starting point. There are also separate requirements for the radiotelegraph (T1) license (E6 100/600), the GMDSS Global Maritime Distress & Safety System (DO, RG, DM) licenses, and the RADAR endorsement (E8 50/300).

717549main_ED11-0184-16-cropped2Once I have completed my GROL license I plan on adding the RADAR endorsement by taking the E8 exam which is specifically for RADAR operations and maintenance. Radar is used in many application on aircraft such as collision avoidance, weather avoidance, and ground proximity systems so this is a useful endorsement for an A&P mechanic with an interest in working on aviation radio systems and avionics.

As a ham I am also interested in working for my Radiotelegraph Operators license. I signed up for a class on CW (Continuous Wave or Morse Code) for January/February 2016. If I do reasonably well with learning the code I will need to get my copy speed up to 16 code groups and 20 words per minute to pass the two FCC Telegraphy Code tests and study for the E6 written, another 100 question exam from a pool of 612 questions. No real need for getting this license, but it would be a nice feather in my cap.

The remaining commercial licenses center on the GMDSS requirements for operators and maintainers in the maritime services. Since I don’t see myself being shipboard any time soon I’m not too concerned with this license.

It’s been a while since the FCC dropped the requirements for land base and mobile stations or service technicians in those services to be licensed. With the prodigious growth of wireless technologies it would be nearly impossible for them to manage all of the licensing needs of industry. There would have to be an system not unlike a national Department of Motor Vehicles but for wireless devices, operators and techs. A massive system in place to manage the licensing and testing of everyone who works on or with wireless equipment.

Just sitting here at my desk typing this post I  have 7 wireless devices within 10 feet of me, my laptop, my wife’s lap top with a dongle for another device, my phone, a printer, a tablet, and a router connecting them all. Our society is crammed full of wireless devices all around us. Just think about all of the devices you run across in a day that use wireless technologies. Even the gas pumps use wireless technology to connect to the controller in the stations office, just look for the little antenna on top of the pump pedestal.

Our world is a wireless world. Just some food for thought. For me, it’s back to study time.

73,
~Jon KK6GXG

Marker Generator and more

20150507_190019Picking up where I left off in the last post, I got the drill bits and finished the 40 meter Helically Wound Vertical antenna. I will get a project page up soon.

Now when I say “finished”, what I mean is the antenna is useable. I still need to seal and cover it but I wanted to get it all tuned up first. As far a receiving goes, the vertical is out performing the dipole strung in the house just sitting on the floor leaning up against the wall next the operating station, so it’s looking good.

I need to finish the tuning with a transmitter on it. Since the only transmitter I have for 40 meters is a CW 250mW transmitter I am holding off on that.

20150508_121409In the mean time I put together a Marker Signal Generator. The design takes an 8 MHz crystal and divides the signal down several time ending up with the desired 1 kHz signal with many harmonics to mark out a tuning dial in 1 kHz increments.

20150508_150243It was fun to build and I leaned a little about some ICs I had never used and some of the basics of working with multiple devices in a single package.

When I came to function, I was very disappointed. The oscillator was anything but stable and we very dependant on an extremely stable input voltage. The onboard diode voltage regulations stunk so I tuned down the power supply from 12 volts to the 5 the ICs need.

20150508_153648At this point I was finally able to calm down the oscillator and get close to 1 kHz I was hoping for. A millivolt up or down and the frequency was out. Not a particularly useable device as it sits but it does give me some ideas for using out of band crystals to generate a signal.

As always, this is the whole point, to experiment and learn about RF design by doing, not just reading and modeling on a computer.

The big news, and the reason I missed a post last week is that I have been doing some research on finding my next big build project. The winning design was the Beach 40 by VK3YE. I have been scouring the web looking for a simple phone (voice) transmitter. I was hoping for SSB (Single SideBand) but the Beach 40 DSB (Double SideBand Suppressed Carrier) is simple and straightforward as is.

IMG_20150513_125237Being me, I had to make some modifications to the design and tweak a few things. One of the great things about this design s that it uses discrete components rather than ICs.

At one point Peter (VK3YE) recommends changing the audio amplifier to one that uses the LM386 chip rather than discrete components because the output is rather low. Since one of the main reasons I chose this project was to keep to available discrete components I went out in search of a different audio amp.

Enter Arv Evans K7HKL and his Discrete Component AF Amplifier paper. By the way, at least via email, Arv is a really nice guy. Thanks for the help Arv!

20150513_170104Now with the circuits mostly settled and parts enroute, Digi-Key arrived a day early! 🙂 I sat down tonight and began kitting the parts for each of the transceiver subsections beginning with the Super VXO. I am only installing one crystal set right now but the plan is to set it up for several banks of crystals. I also had some ideas as to using the banks for multiple bands as well as sections of a single band, but that’s for later.

20150513_202942I also kitted the Local Oscillator/Buffer and the Balanced Modulator/Product Detector sections. There are a few bits that will need some refinement, mostly inductors, but these will be addressed as needed.

And speaking of inductors, since I sent back that crappy one I am still in need of one. I will be ordering one tomorrow because I wont get far in this build without one. The goal is to have this radio up and running before Field Day June 27-28.

Look for a project page soon.

Till next time, 73,
~Jon KK6GXG

Radio Goals

I tend to view “goals” as an intermediary point, even a starting point in many cases. They are rarely endpoints, and when they are it’s usually only an end in an administrative sense, like earning my Amateur Extra license. Administratively I reached an endpoint because it is the highest level in the Amateur Service, but in reality it’s a beginning. There is so much to learn that requires I earn the license first.

My current goals in radio are much the same. They are the getting-to-the-starting-line kinds of goals. I started studying for my commercial radio license shortly after I earned my amateur Technician class license. Well, that is to say I bought the study guide and began reading it. I also purchased some test prep software. While I have been poking at it off and on, I hadn’t made any serious efforts to study until this week.

Earning the GROL (General Radio Operators License) has been a goal since I started studying for my Technician, I just hadn’t set a hard date for it. I am still refining the hard date, but it will be this year before the end of June. I also have a goal to get the RADAR endorsement added to the GROL license, this year.

Another goal is to get on-the-air using CW (Morse Code) at 10-15 wpm (words per minute) by the end of the year. This is most definitely a starting point. It is the lead in to getting my commercial Radiotelegraph license.

GROL and RADAR are personal goals that also have a pragmatic side. With these licenses I am authorized to work on most marine and aviation radios and RADAR. This includes mobile (in the craft) and land based comm, RADAR, and navigation radios. A big boon for the aviation pilot/mechanic/instructor. This also opens up some doors in the commercial and government radio services.

Learning CW is purely personal. The CW requirement for an amatuer radio licenses went away entirely in 2007 but it was one of the factors that kept me away from ham for 30 years. Now that it is gone from amateur radio requirements my only way to concor that obstacle is to learn it, practice it, become proficient in it, and get the only class of license that still requires it; a commercial Radiotelegraph license.

The Radiotelegraph license process has four components, two written test elements, one of which I will have already passed with my GROL, and two code test elements. The code tests are 16 code groups per minute, and 20 wpm at 100% copy accuracy.

Like some other commercial licenses there used to be different classes of license, now there is only one radiotelegraph license and this consolidation happened relatively recently. I want to be sure and do this before the class goes away altogether; so my goal for this license is to take the code exam elements before the end of summer 2016. This should give me plenty of time to build speed and proficiency.

Fortunately the amateure radio service has lots of room for code practice and plenty of cw hams to keep practicing and improving the skill. I am looking forward to learning the code well enough to get on the air soon!

73,
~Jon KK6GXG

CW Practice Oscillator

Mark I – Transistor Based Oscillator

Mark I protoboard and schematic

(2015-04-03 This page has been copied to projects)

This was the first attempt at an oscillator for practicing CW. I don’t remember where I found this particular schematic but there are a ton of oscillator circuit designs available online.  Click here for a Google search that will result in a lot of options (over a half million hits!) The image results are a good place to start.

I committed to protoboarding this design because I wanted to play around with it some more. At the time I built it I was planning on getting an O-Scope but I didn’t have one yet.  Now that I have one I can revisit the circuit.

Mark I Oscillator - simple to build and only a few components. Not real stable though.
Mark I Oscillator – simple to build and only a few components. Not real stable though.

The AF (Audio Frequency) tone is unstable to say the least. It varies from 3kHz to about 200Hz . The wave form resembles a square wave, but only loosely.  It is very spiky and irregular.

While this is a simple circuit to build, uses only a few components, can be built very inexpensively, was a fun basic electronics project, and would be good as a beginners circuit / soldering project, I wouldn’t plan on using it for much more.

I would avoid it for a CW practice oscillator. If you are serious about learning CW, do it with a stable oscillator that will be pleasant to listen to. This thing can squeal at times.

Mark II – 555 IC Based Oscillator

The 555 IC oscillator is much more stable than the transistor based one

As the section title above says, this oscillator is based on the 555 timer integrated circuit, a much more stable oscillator, also with few parts.

I documented the build on Flickr but the focus was more on the cabinet build and less on the electronics.

This circuit makes a good CW practice oscillator. Still a very easy build for beginners and fun. I was going for a steampunk look with the cabinet build. There are many things I think I would do differently in the cabinet build to make it easier, and smaller, but the oscillator works just fine as is.

The waveform is a pritty clean and produces a consistent 724.8 – 725.2 Hz tone. This circuit does consume more energy then the other. I put a fresh battery in the oscillator, had done a week of cw practice 20 minutes a day when life called and shelved it in May 2014. I just took it down and did some testing when the battery died.

Thing two I might change, a positive power cut off switch to completely lift the battery from the circuit. Just a thought.

Here is a short video of the cabinet and the oscillator in action with a CW key. There is no additional AF amplifier which brings up the one thing I might change. It my be a good idea to add a variable resistor on the output to adjust the volume.

https://www.youtube.com/watch?v=3yoo2oZG714

Learning CW Online

Cheap USB mouse
Cheap USB mouse cost $7 new from Amazon or any spare junk drawer mouse will do.

There is a neat site Learning CW Online or LCWO.net I am just starting with.  Since I am just starting with them I don’t have a whole lot to say about the site, but, it did spark a short project idea.

ETA: For a bit of history on CW and the Telegraph in general take a look at this page a reader of this post replied with. Thanks Corrine.

The site is a a commercial text messaging advertising site I don’t know anything about but the Telegraph and CW history is interesting. CW is the first digital mode, was a commercial enterprise, and was the original text messaging system with number of character limitations shorthand codes, and abbreviations. All it was missing were emojis.
/ETA 11/20/2021

LCWO has different sections for copying code and for transmitting code. The copy side is easy, just listen through the speakers on the computer or headphones. Transmit requires action, you need to key something, usually the left mouse button. I have a touch pad and not a mouse. Besides, a mouse doesn’t have the feel of a straight key (SK) and that’s what I will be using on the radio…

Enter the idea… a USB cw key! I’m cheap and more homebrew so I came up with an incredably simple USB mouse mod that allows me to use the key with any site or program that will allow you to key by clicking on a virtual key.

All I did was open up the mouse ans solder two wires to the left mouse switch and run those wires out the side of the mouse case and tie them down to the binding posts on the straight key. Now the key is parallel to the switch. You can still use the mouse, and you can use the key too.

I still need to do one thing before this project is done. I need to install a jack in mouse so I can easily unplug the key when I just need a mouse.

Helpful Hint: If the mouse keep sliding around while you are trying to use the key, just line it up with the on-screen button and slowly pick it up and turn it on its back. This will stop it from tracking.

Here is a link to my progress shots on Flickr.

USB mouse/cw key with jack

ETA: The jack has been installed and it works great. 

CW Oscillator

The shack/radio bench is rapidly evolving. I have been working on several radio projects, most of which have been relatively small. The most recent project is a CW (Morse Code) practice oscillator. It allows me to practice sending code while I learn.

I had built a transistor based oscillator which worked okay but the tone wasn’t that stable, or loud enough to be that useful. I had a drawn up a simple transistor amplifier that I planned on adding to the circuit board, but the design is still less that optimal from a stability standpoint
After building the transistor version I decided to try an IC (integrated circuit) based oscillator. The tone quality, stability, and volume are much better than the transistor type. I built the oscillator on a breadboard to test the circuit out and make sure everything was in working order.

After checking everything out I started laying it out on paper the way I would actually wire it all together on a proto-board.

Everything worked great so I was ready to get to the next phase of the project, building the housing for the whole thing
The plan for the case was to build a wooden box with as much of a vintage (read steampunkish) look to it so it was time to move operations from the shack/radio bench down to the workshop.

First up was to design a basic box. I chose Douglas fir for the frame pieces and mahogany plywood for the panels.

Since I was going for the steampunk look, brass, lots of brass. Everything was stuff I had around the shop so there was no waiting. More importantly, I have lots of the stuff so I can experiment a little.


The box was all hand cut and assembled. Everything is held together with glue though I did use brass pin nails for accent. The brass speaker grill doubles as a retainer for the analog acoustic speaker. I didn’t want to use the cheap plastic one in the project. The sound just isn’t the same as the paper speaker.

The other end panel was going to just be wood and nails, but I decided to go with an accent that would double as a way to open the panel. This panel needs to be removable because the battery is on this end. I went with a key hole on a whim, it just looked right. It was a bugger to hand file the whole plate but I think it’s worth it.
The box took two days to plan, cut out all of the materials and to assemble. The brass work was done the second day as well. It took a third day to apply the several coats of linseed oil that I used for the finish.

Once the box was all done and the finish was dried it was time, on the fourth day now, to plan out exactly how I was going to install the guts.

I know this was not a very thoroughly planned project. I planned out the electronics pretty well, but the case, well that was very much an on-the-fly thing.

Any way, back to the timeline, with all of the case work done it was time to relocate back to the shack.
Back in the shack I worked out the bugs in case design, well, I developed the work-arounds for the issues that arose from the case design. What can I say, one of the reasons I am doing this project is for a learning experience and I have learned a few things about project design, and project housing design in particular.

There are several things I would do differently if I were to do this project again. One would be to reconsider trying to stick mostly with hand tools. I could have saved myself a ton of time had I built the frame using my router.
I could have routed a single channel strip on the router and just cut the pieces and mitered it all together.

Another change would be to use tiny screws to hold the panels in. I would have had much better access while installing the guts.

As they say, hindsight is 20/20. Lessons well learned and worth learning.

Below is a short video of the oscillator in operation.

Until next time,
~FlyBoyJon