
There is a neat site Learning CW Online or LCWO.net I am just starting with. Since I am just starting with them I don’t have a whole lot to say about the site, but, it did spark a short project idea.
ETA: For a bit of history on CW and the Telegraph in general take a look at this page a reader of this post replied with. Thanks Corrine.
The site is a a commercial text messaging advertising site I don’t know anything about but the Telegraph and CW history is interesting. CW is the first digital mode, was a commercial enterprise, and was the original text messaging system with number of character limitations shorthand codes, and abbreviations. All it was missing were emojis.
/ETA 11/20/2021
LCWO has different sections for copying code and for transmitting code. The copy side is easy, just listen through the speakers on the computer or headphones. Transmit requires action, you need to key something, usually the left mouse button. I have a touch pad and not a mouse. Besides, a mouse doesn’t have the feel of a straight key (SK) and that’s what I will be using on the radio…
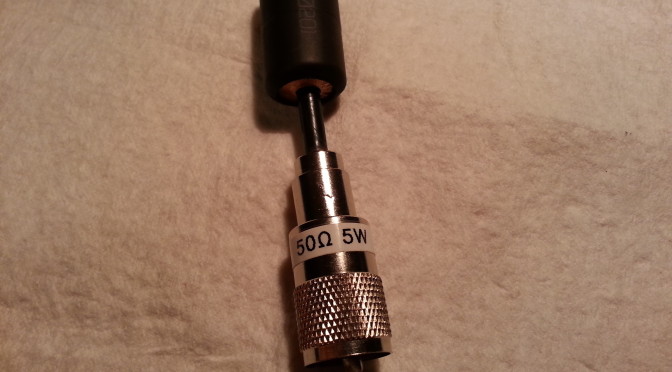
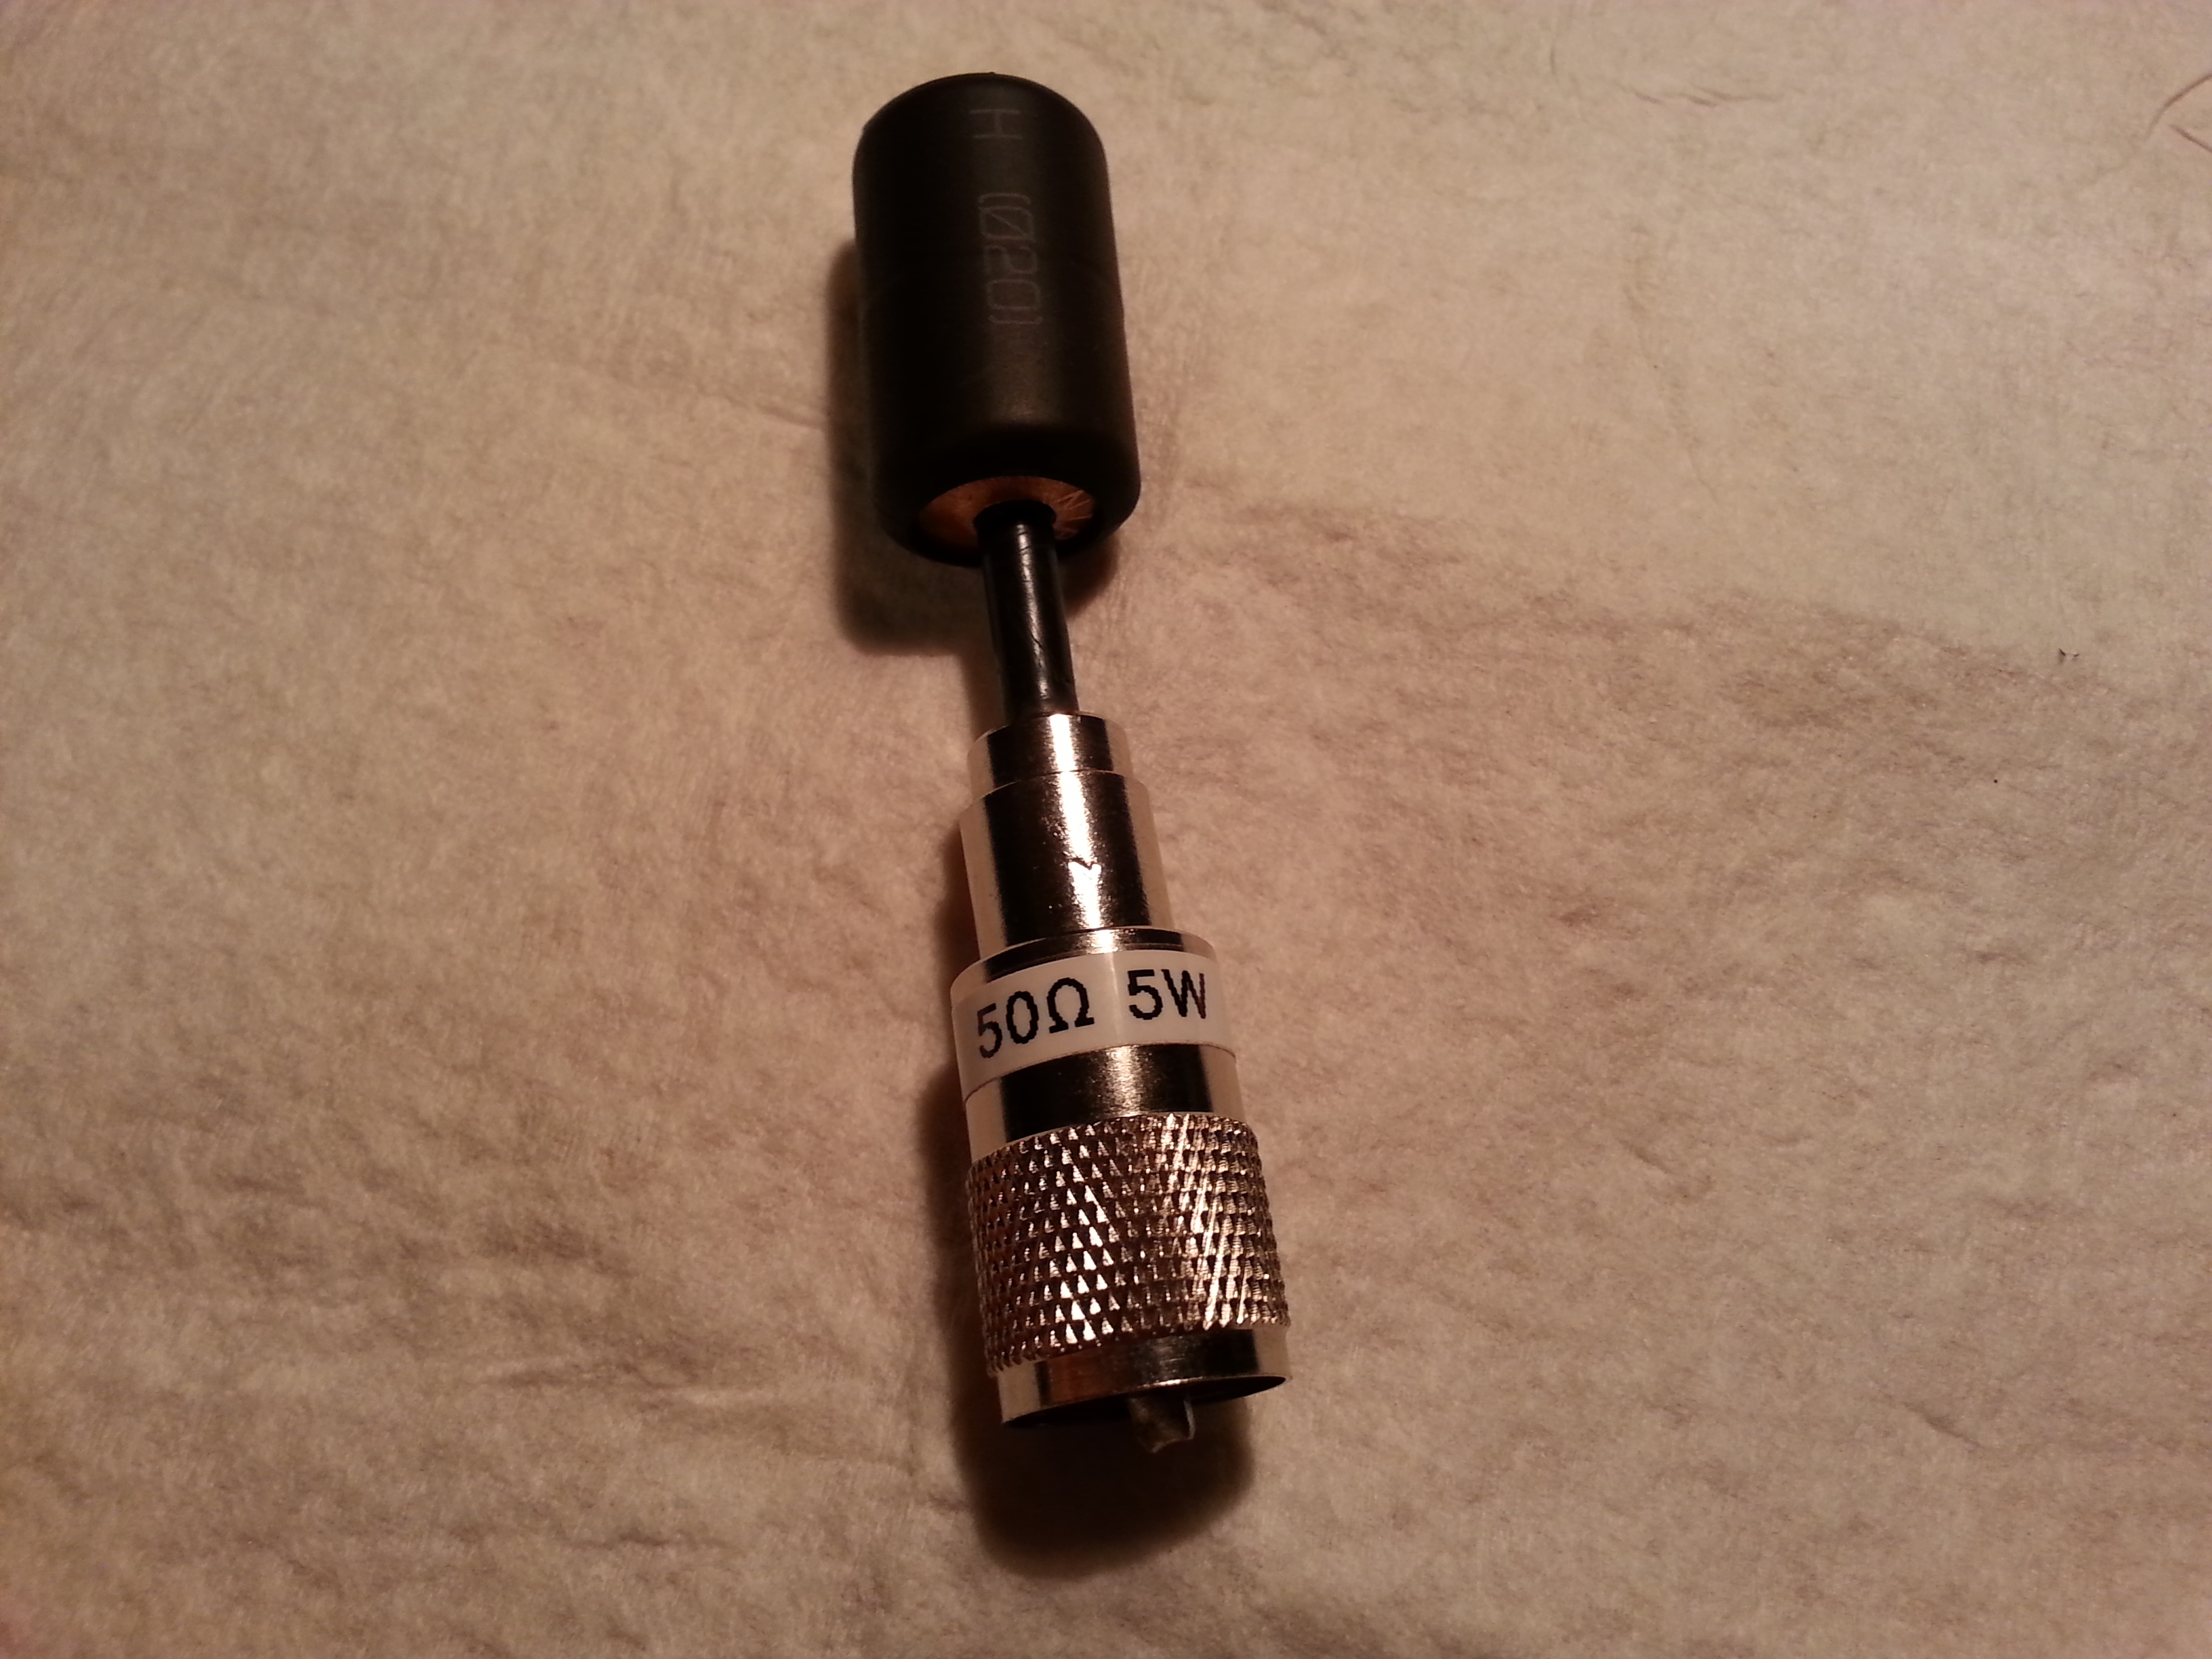
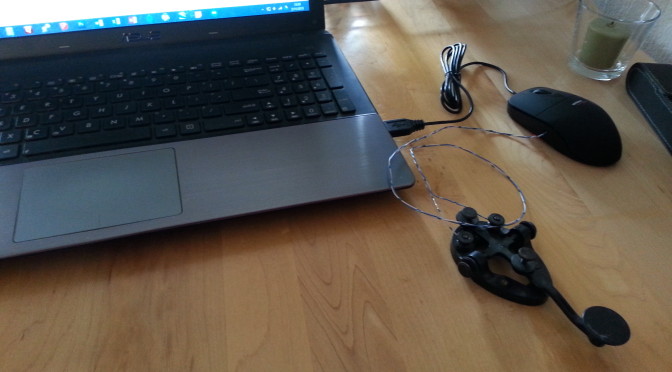
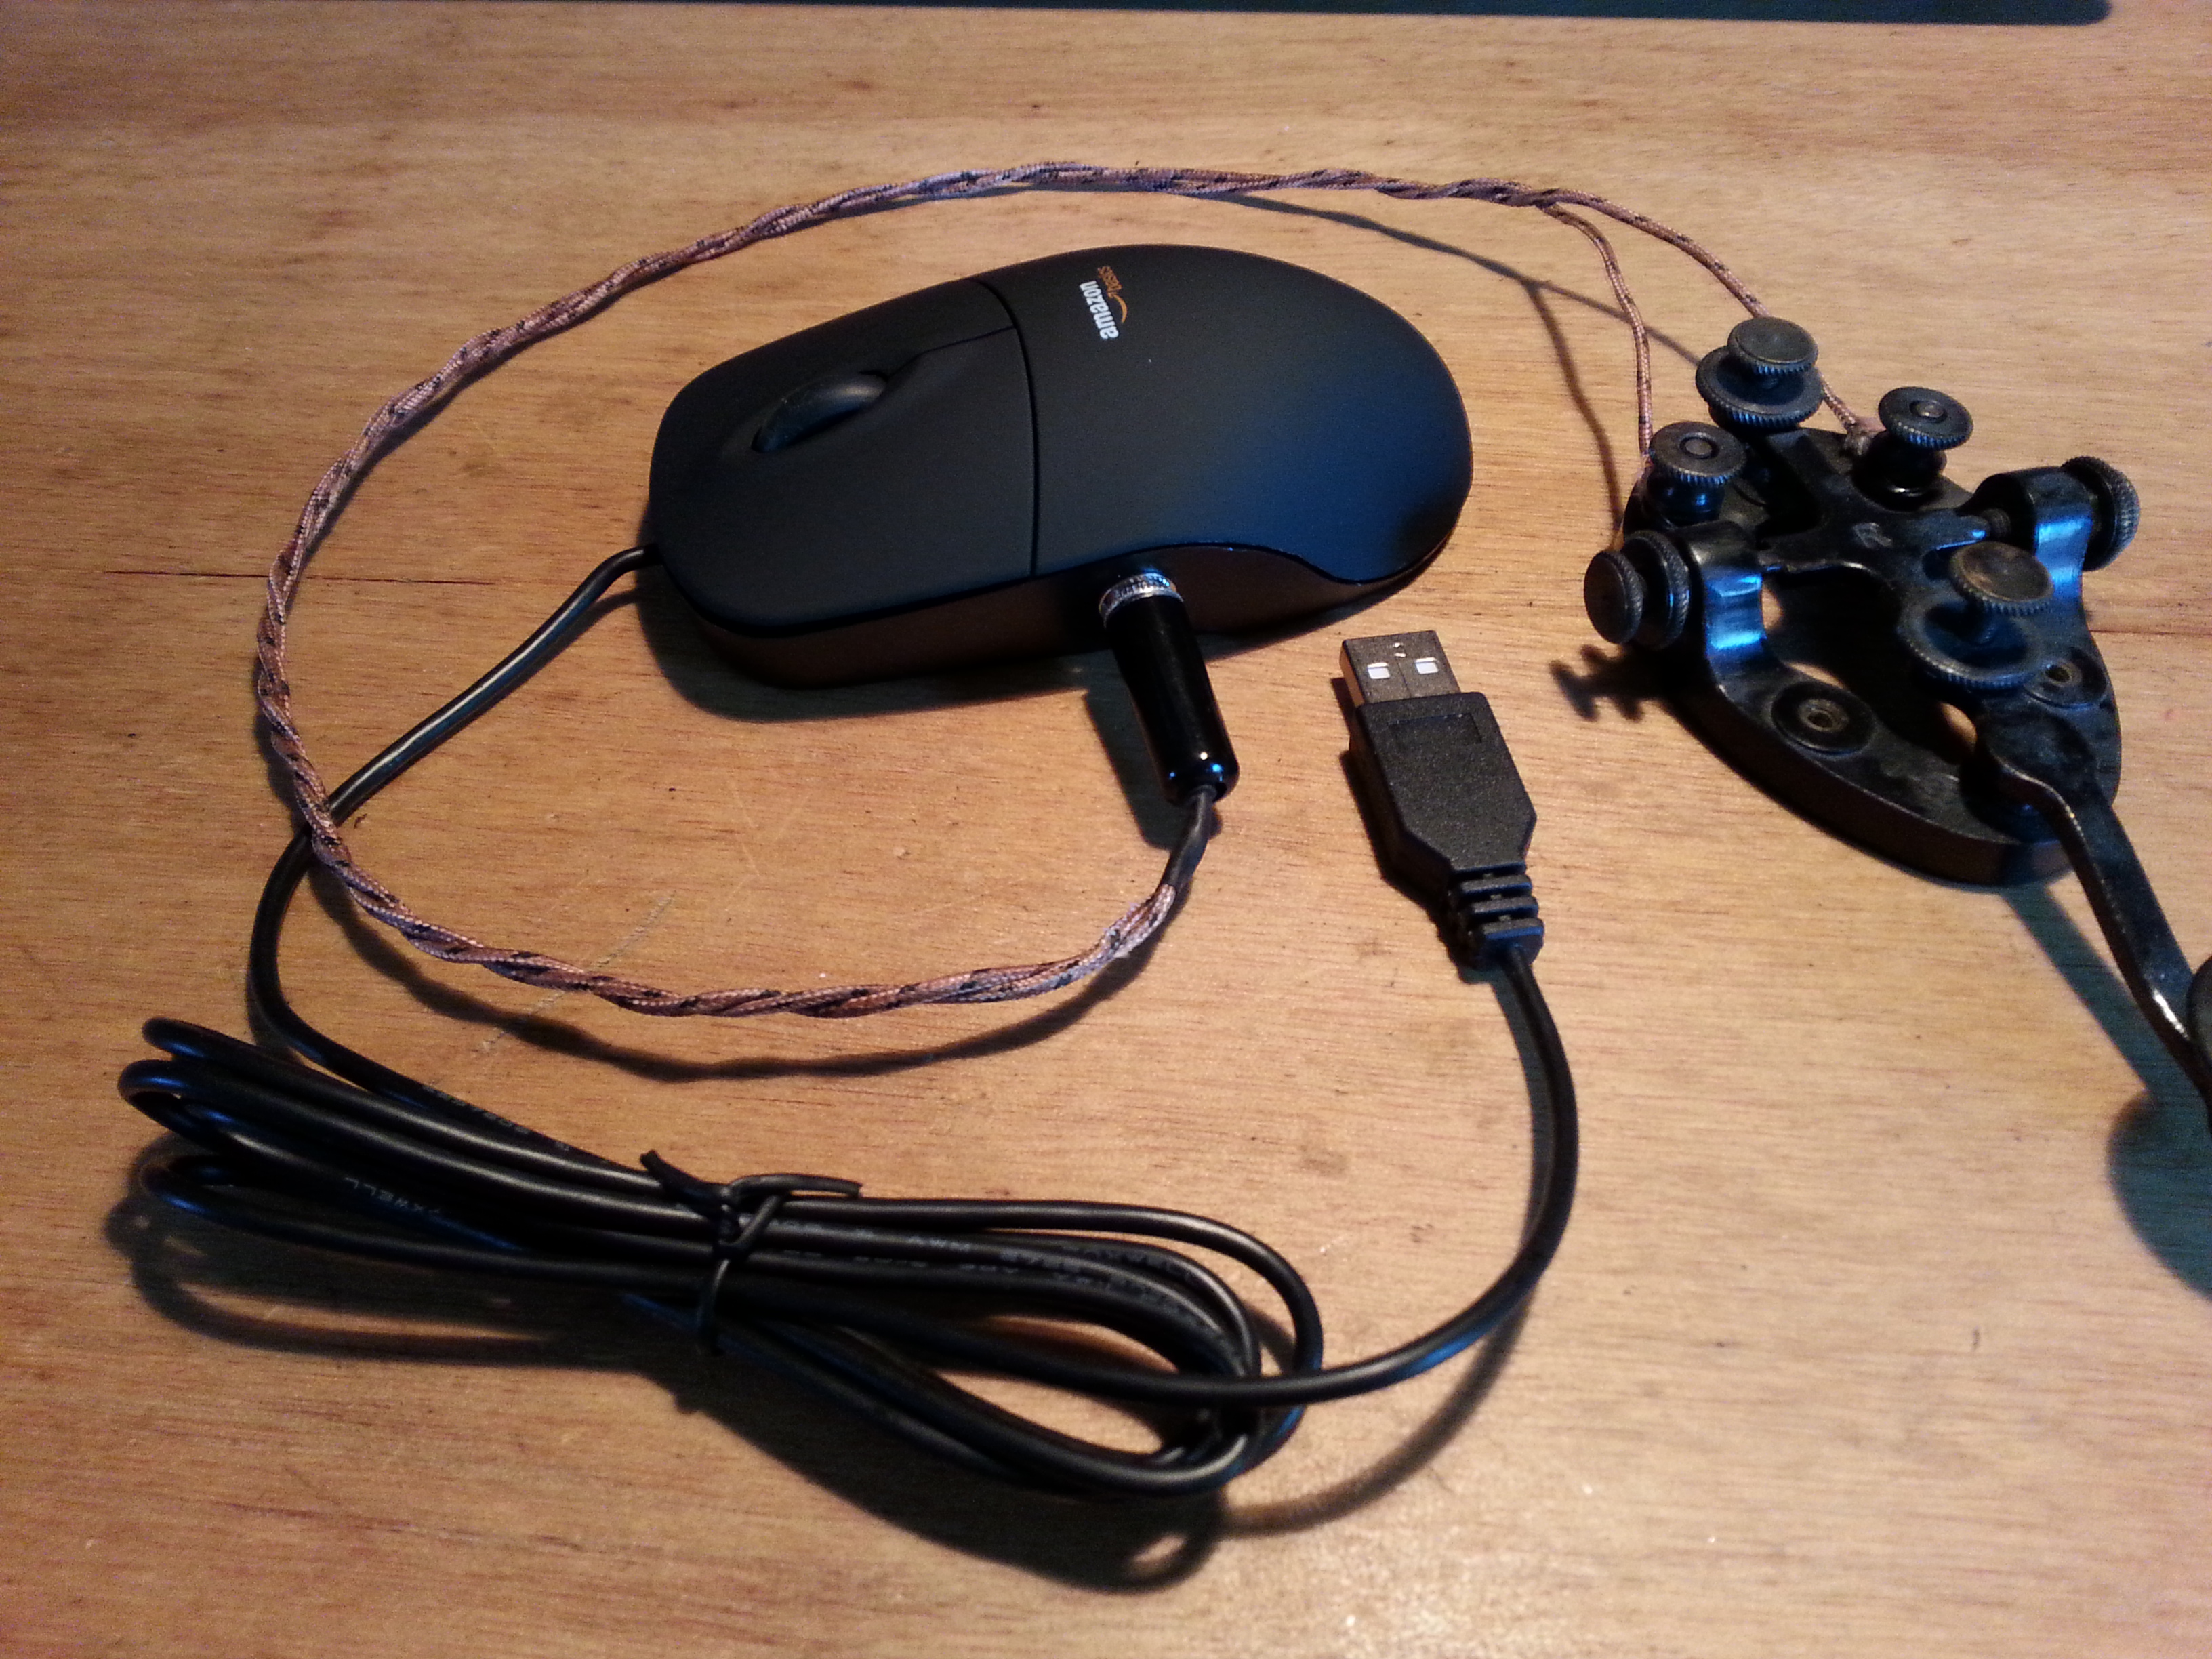
Enter the idea… a USB cw key! I’m cheap and more homebrew so I came up with an incredably simple USB mouse mod that allows me to use the key with any site or program that will allow you to key by clicking on a virtual key.
All I did was open up the mouse ans solder two wires to the left mouse switch and run those wires out the side of the mouse case and tie them down to the binding posts on the straight key. Now the key is parallel to the switch. You can still use the mouse, and you can use the key too.
I still need to do one thing before this project is done. I need to install a jack in mouse so I can easily unplug the key when I just need a mouse.
Helpful Hint: If the mouse keep sliding around while you are trying to use the key, just line it up with the on-screen button and slowly pick it up and turn it on its back. This will stop it from tracking.
Here is a link to my progress shots on Flickr.
ETA: The jack has been installed and it works great.